No Name Plane
After my less than successful experience flying the professionally designed simple scout, I decided the best course of action would be to try and design my own plane. After some quick hand sketches, I drew up the aircraft in Solidworks.

The main issue with the simple scout was the fixed wing position. This was a problem as the CG ended up too far back, making the plane very hard to fly. The new plane solves this by having a wing which can move along the fuselage. The wing is attached to the fuselage with some rubber bands, for easy adjustments. Some changes were made from the solidworks model, for example the ailerons, and the circular wingtips.
All the electronics were salvaged from the simple scout. From designing the aircraft myself, as well as consulting a friend, I have made a few mistakes which I won't make again:
- Always consider the lengths of wire on the servos. I placed the aileron servos too far from the center of the wing, meaning the cables would not reach the receiver. To counter this, I had to purchase some extension wires. This adds mass and cost, but does work.
- Another mistake was the tail servo placement. They are far from the CG, and such their mass moves the CG back a significant amount. Next time, I will place the servos closer to the CG, and use longer control rods to actuate the control surfaces.
- I need to put more consideration into the design of the tail, such that the elevator and rudder do not collide when at maximum deflection.

- The control horns (left), are glued into the control surfaces, and are part of the mechanism that connects the servos to the control surfaces.
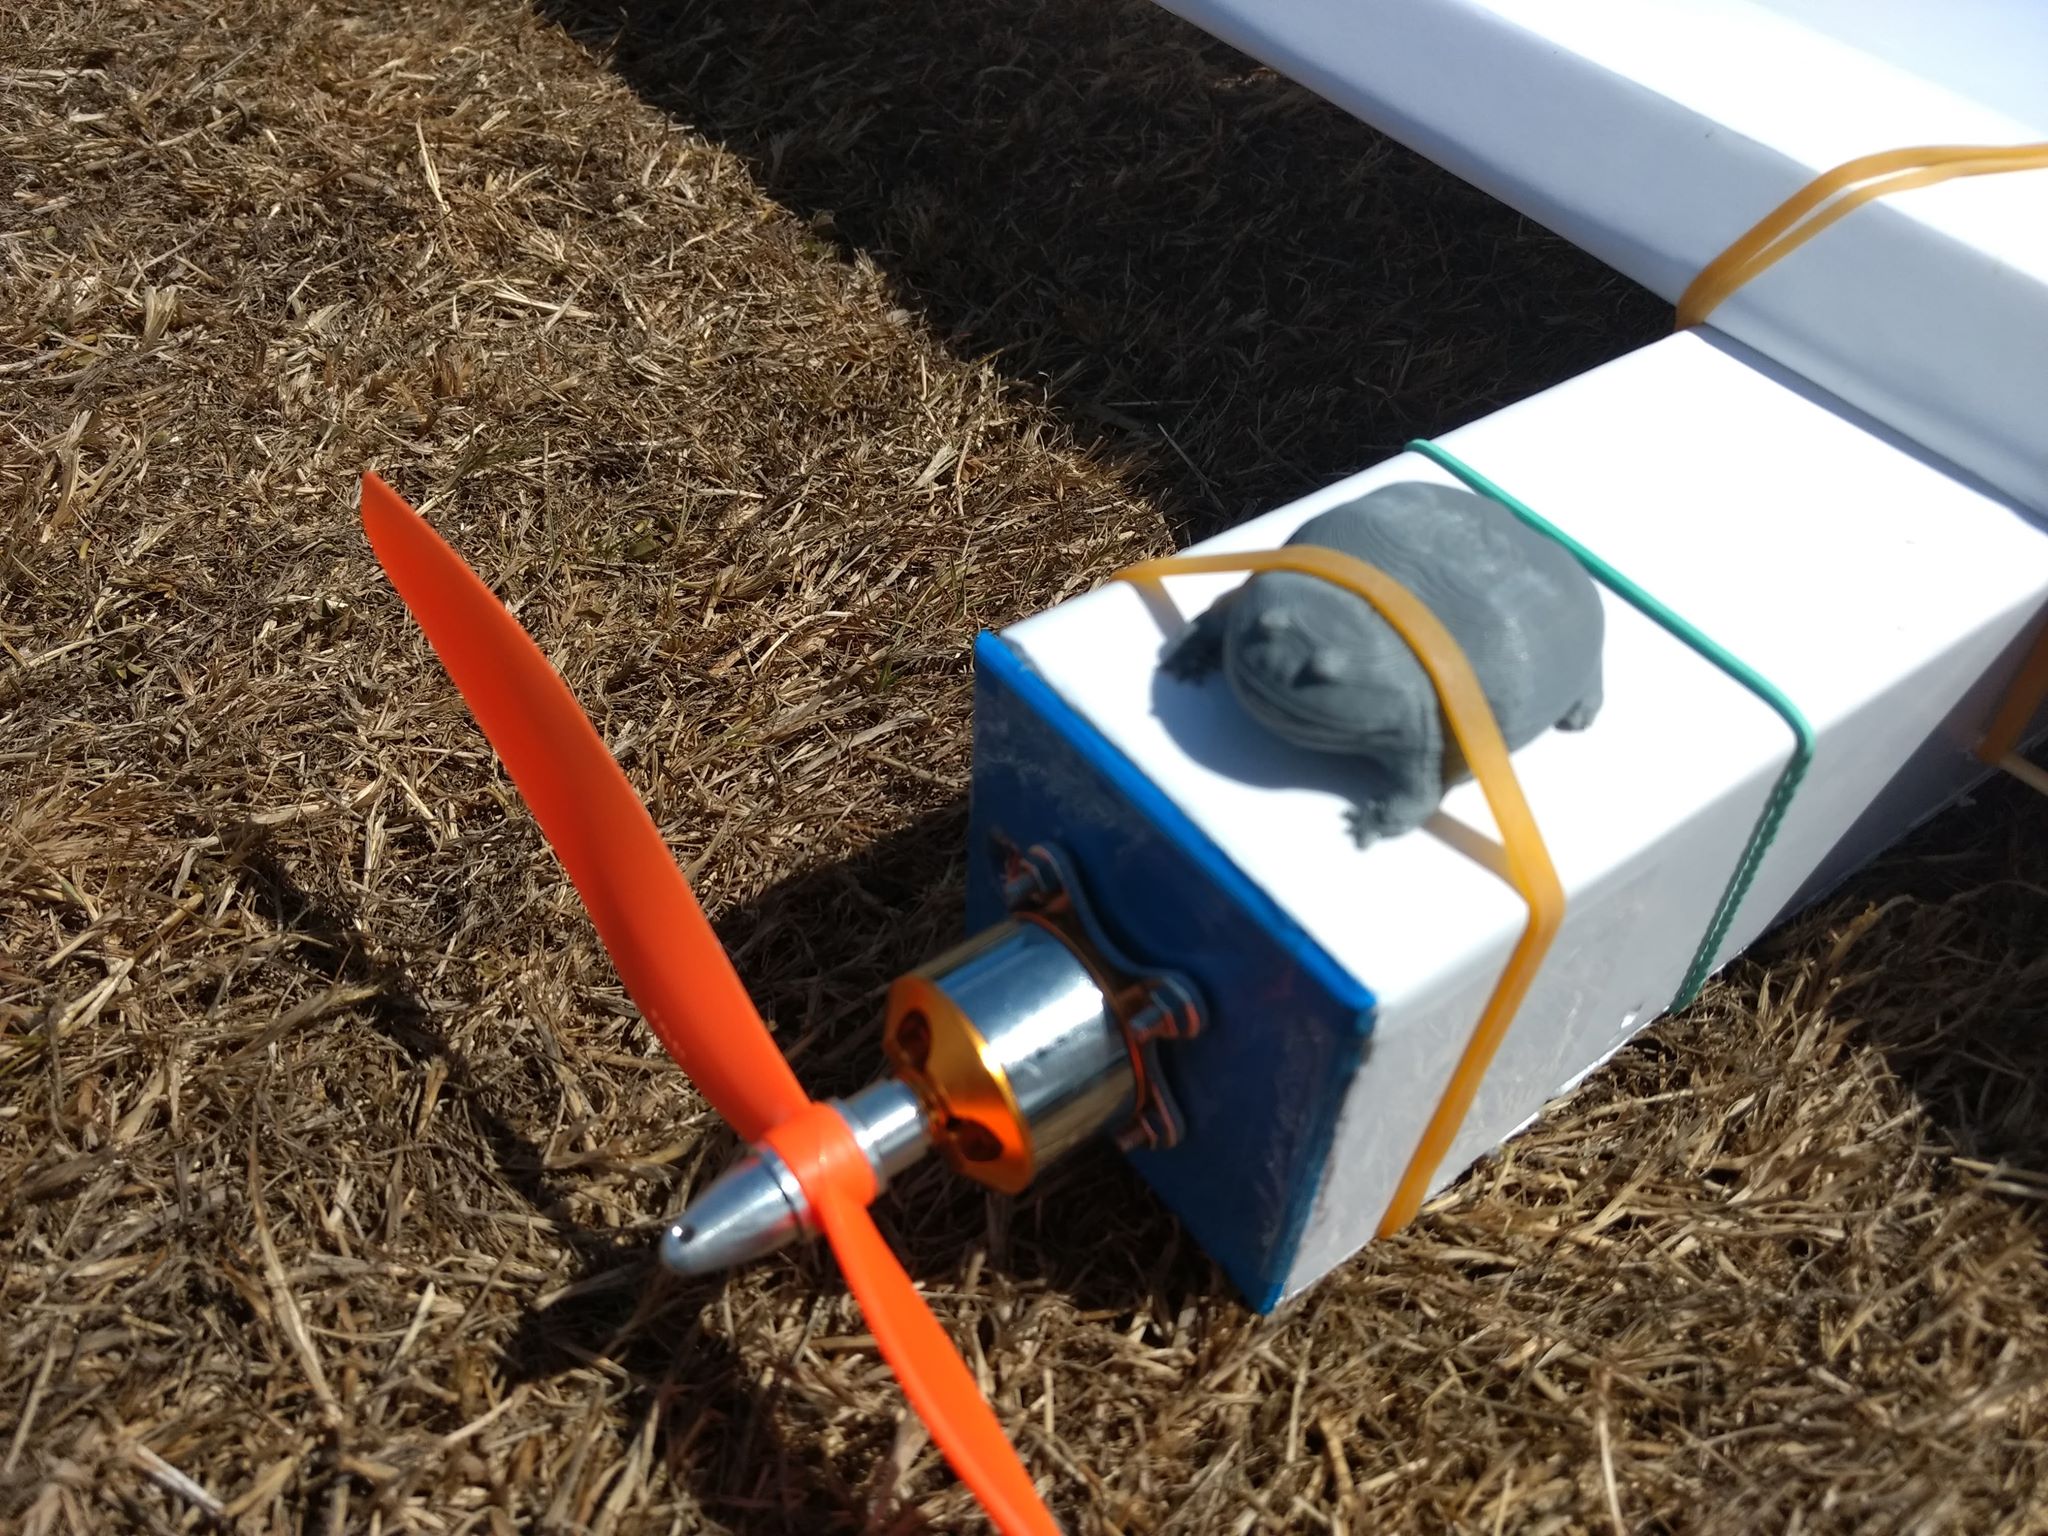
- The firewall (middle), is what the motor is screwed onto. The firewall is glued and taped to the front of the fuselage.
- The pushrod system used to attach the control horn to the servo. A wooden BBQ skewer is glued inside each of the pieces, to create the linkage. To secure to the servo, a drawing pin is placed through the piece on the right and through the servo arm. Similarly, to stop the left piece sliding out of the control horn, another drawing pin is used. This method is used as it reduces print time, and is extremely cheap and simple.
Most importantly, it actually worked! After turning the sensitivity down to about 70%, it's much more controllable than my previous attempt, however is still a bit twitchy on the roll axis. I only crashed it once, but that's because of my poor piloting skills rather than poor design. Proof that it works at all: In hindsight I should have waited until a less windy day, but it still survived. And yes, the Wednesday frog on the front is necessary for ballast purposes..

I should note that after taking the plane out a few times and getting the hang of it, it flew quite well. Up until the point it nosedived too hard, damaging the motor, and burning out the ESC.
